Building a fish pond is a manageable DIY project when the pond is planned before the first soil is removed.
The most successful ponds are not simply holes that have been lined and filled with water. Their size, depth, location, edges, filtration, pipework, plants and eventual fish population should work together as one system.
This guide takes you through the process from the first sketch to the point where the pond is ready to mature biologically and eventually receive fish.
To build a fish pond, choose a suitable location, decide its size and construction method, mark and excavate the shape, prepare the base, install the liner or shell, finish the edges, install any required pipework and filtration, fill and test the pond, add plants and allow the biological filter to mature before normal fish stocking.
Planning the complete system before digging usually prevents far more problems than trying to correct a poor design afterwards.
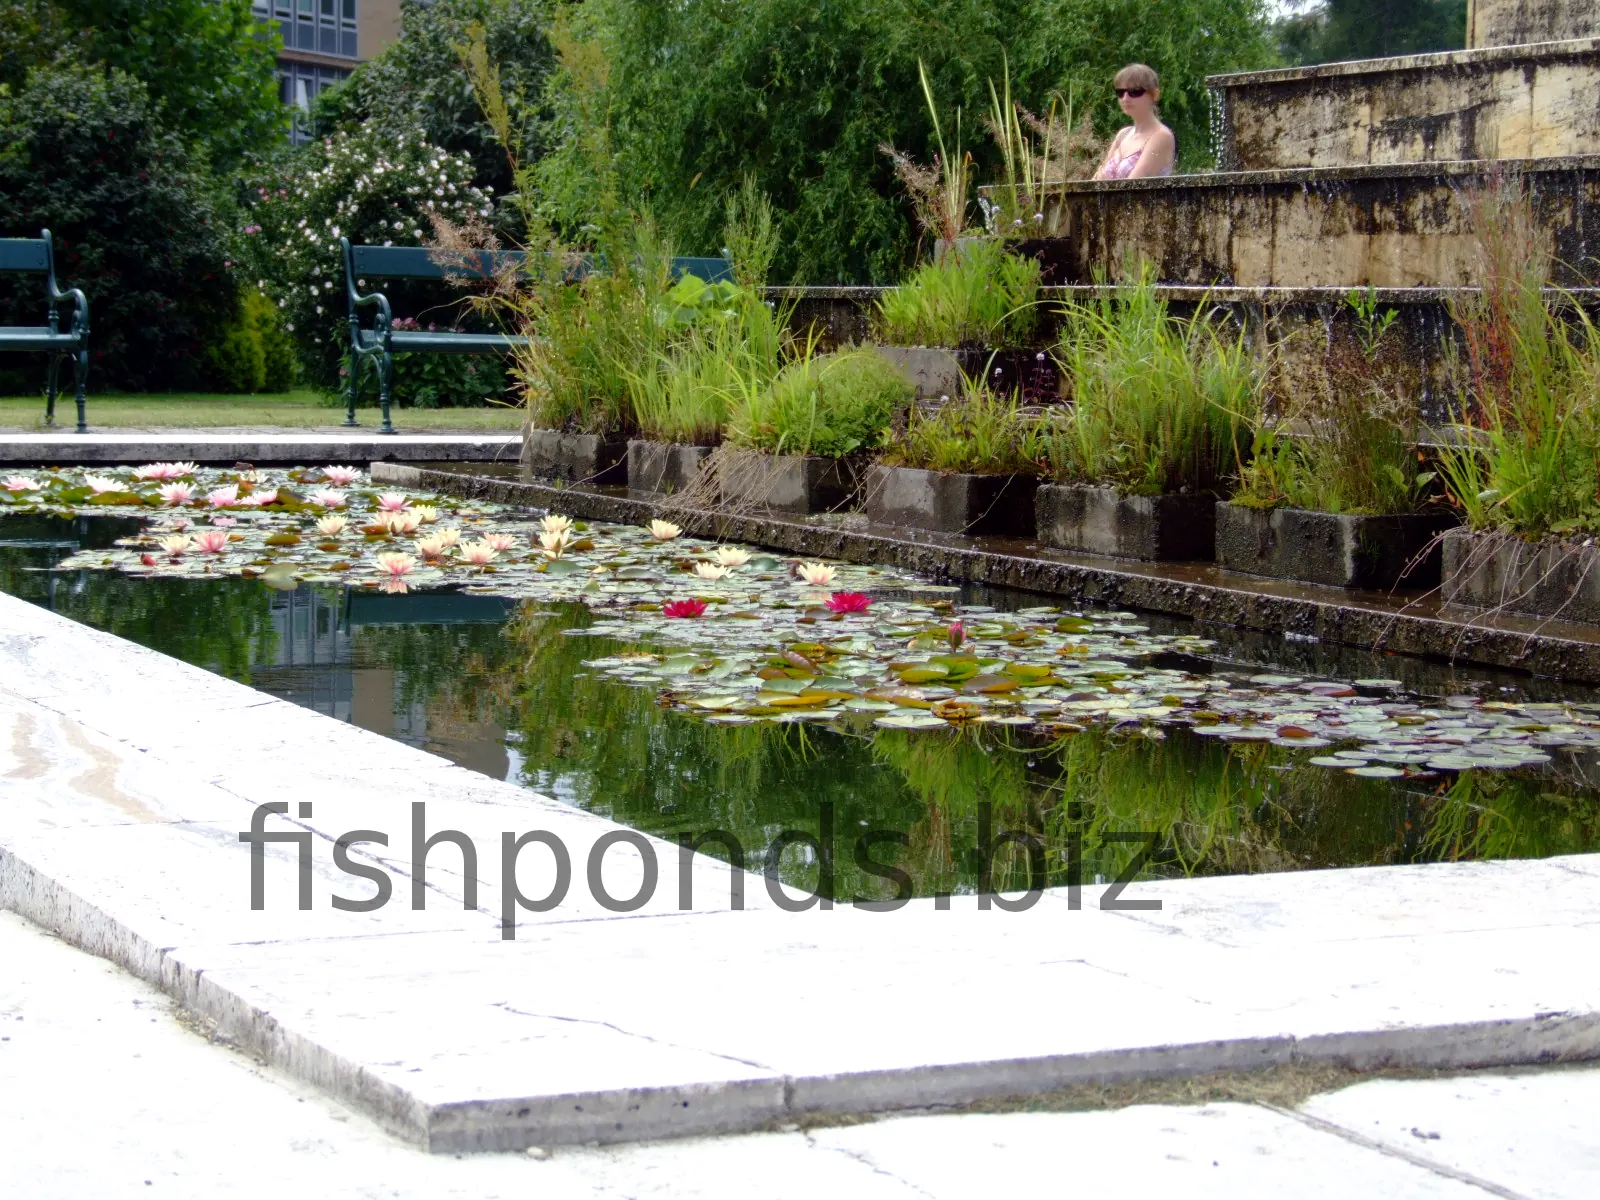
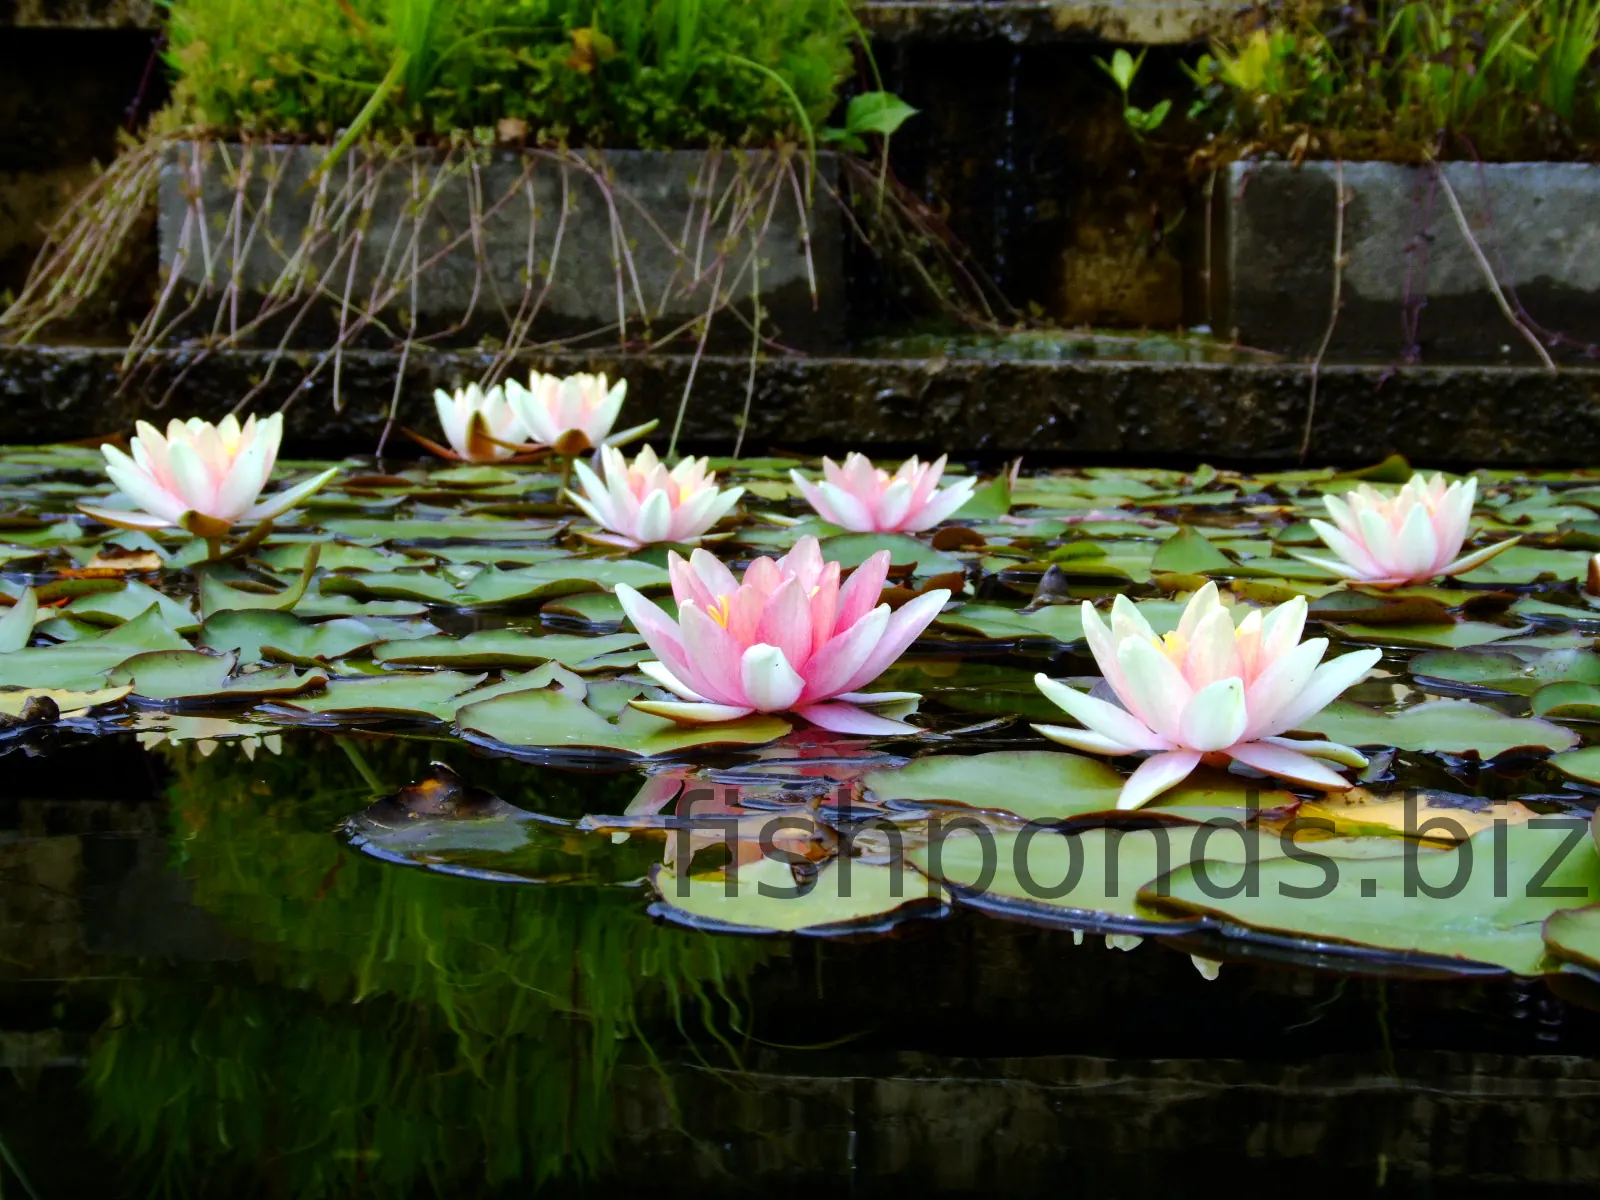
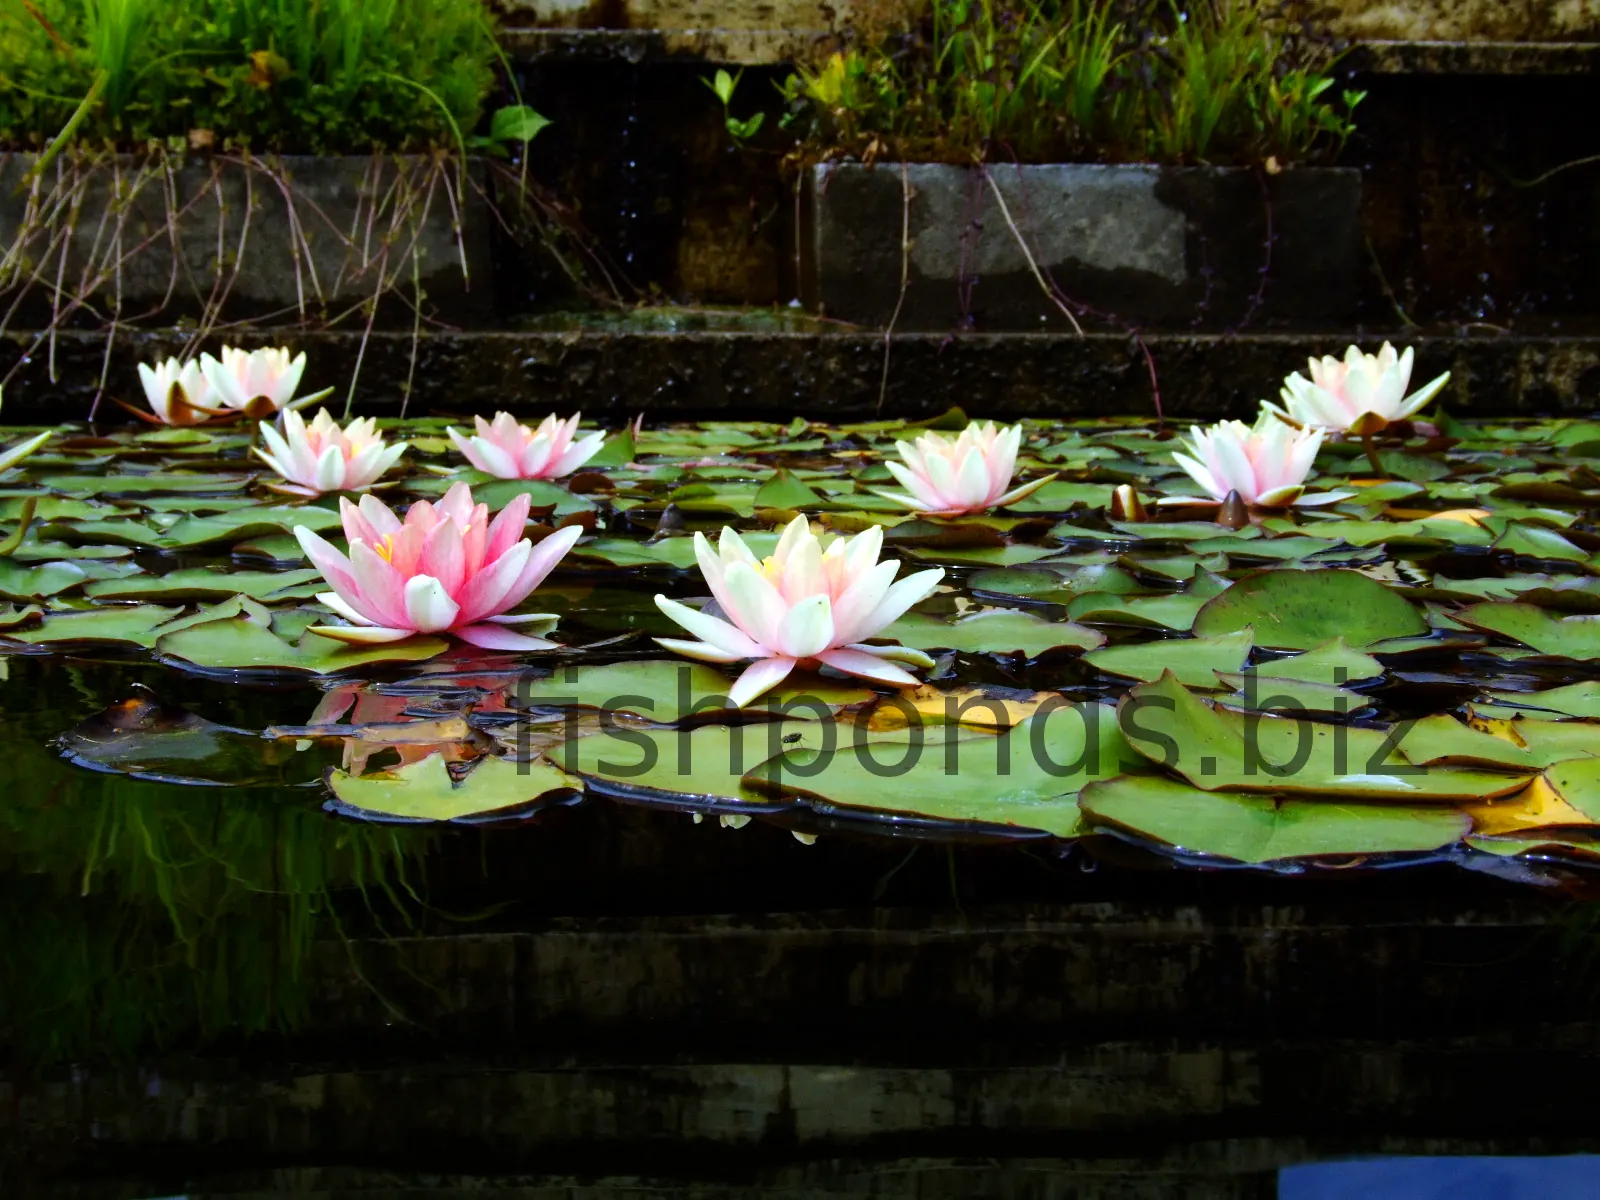
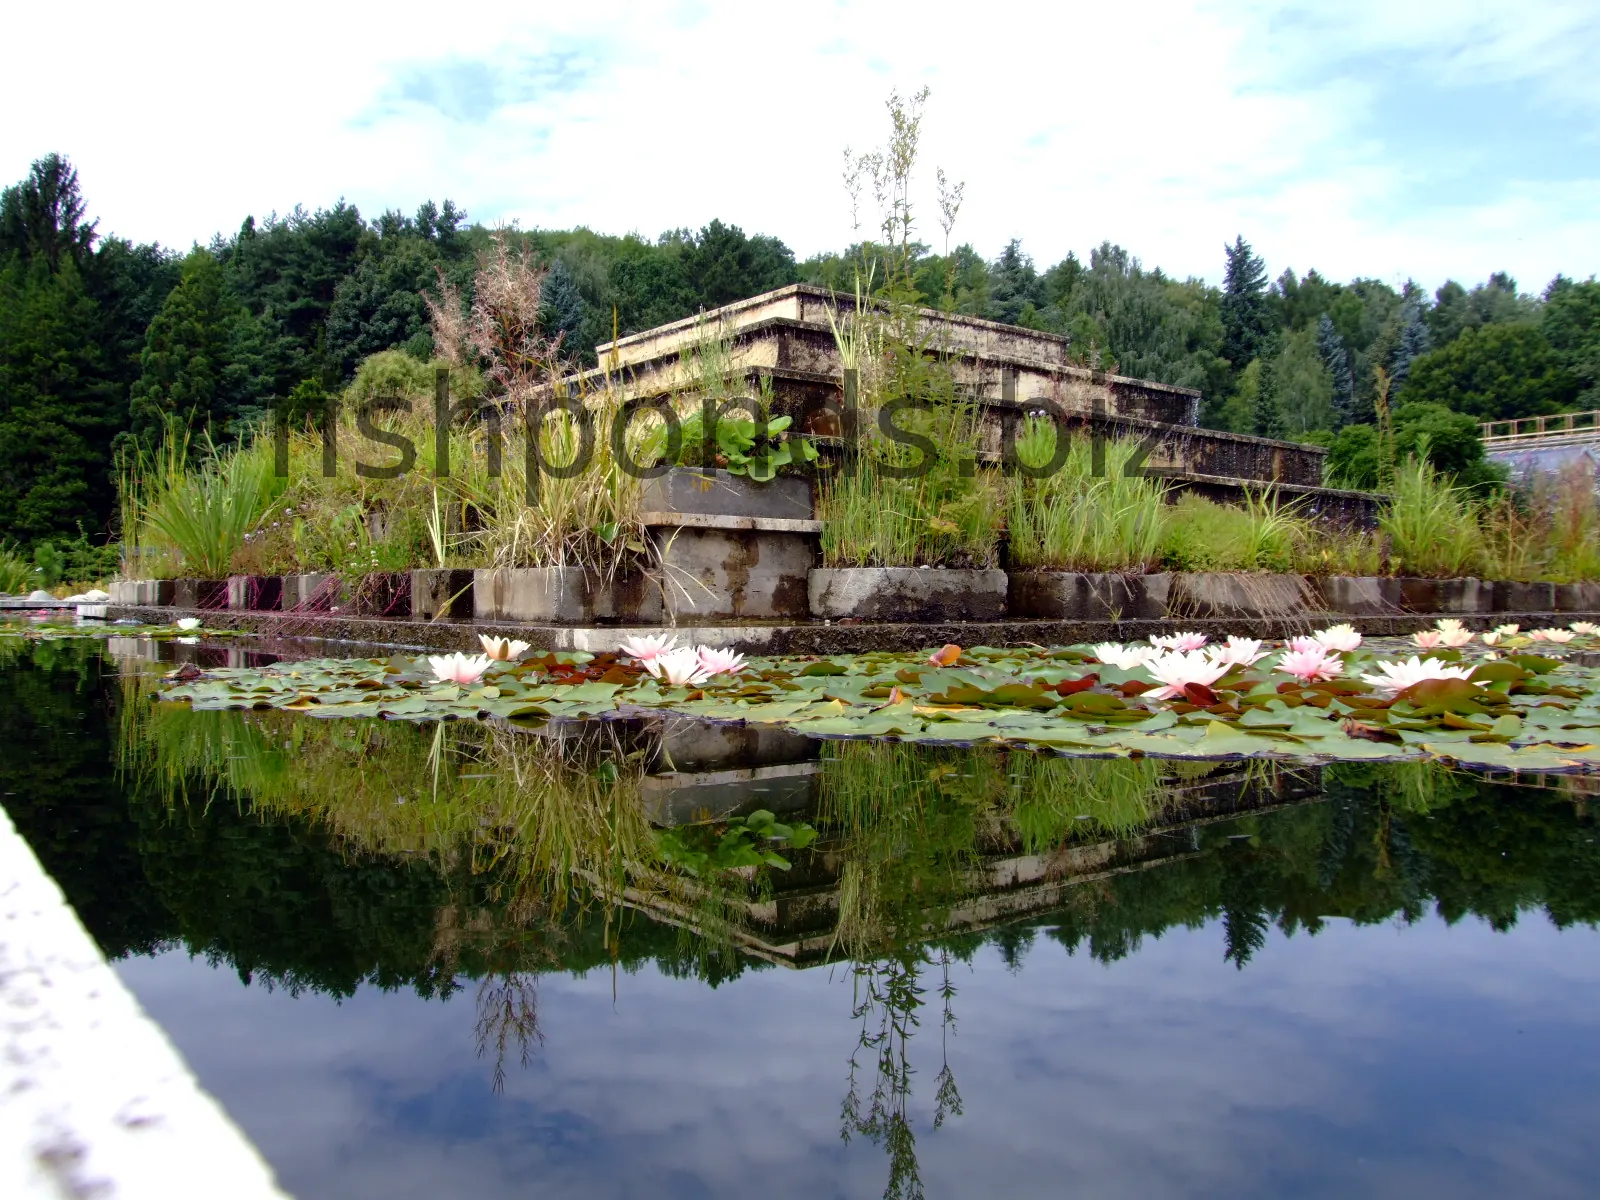
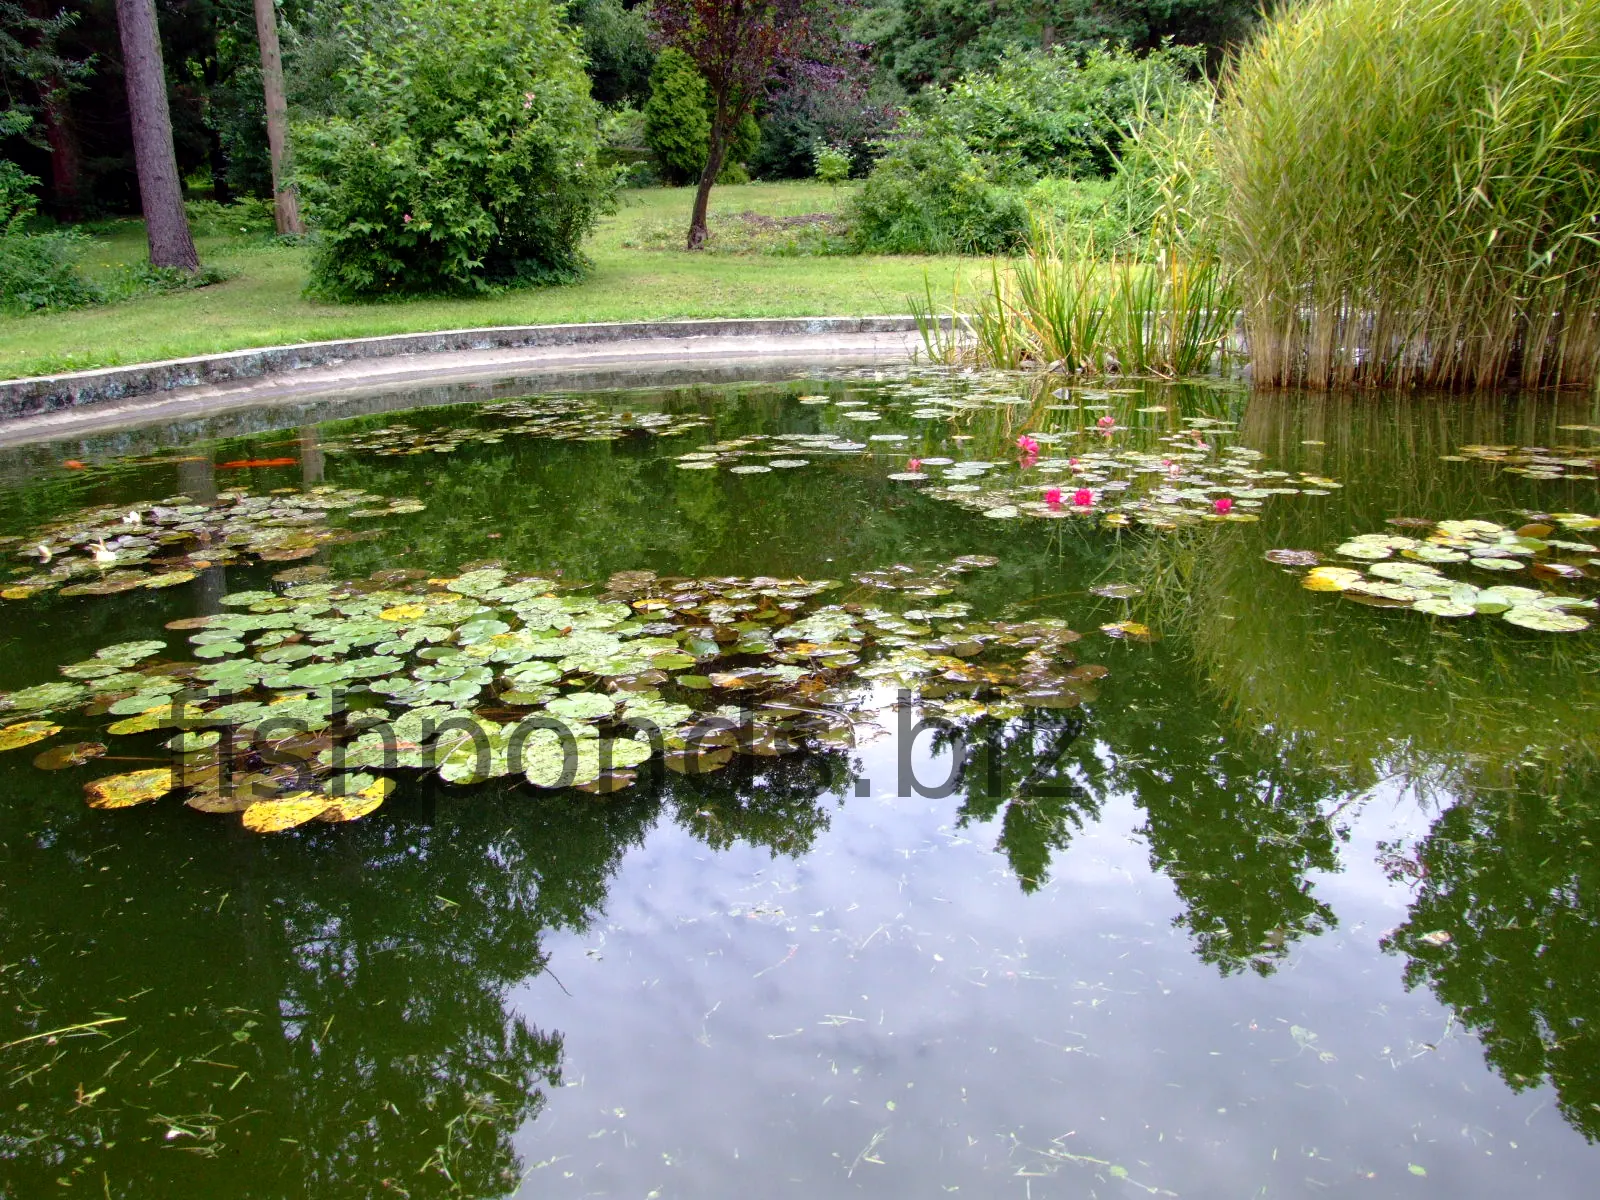
Plan the fish pond before you start digging
The first stage of pond construction happens on paper rather than in the ground.
Think about what you expect from the finished pond. A lightly stocked ornamental garden pond, a planted wildlife-friendly pond and a pond intended for large koi may require very different depths, water volumes, filtration systems and maintenance access.
Decide early whether you want features such as:
- fish;
- marginal planting shelves;
- water lilies or deeper aquatic plants;
- a waterfall or stream;
- a fountain;
- a skimmer;
- mechanical and biological filtration;
- additional aeration;
- lighting or other electrical equipment.
It is much easier to provide a pipe route, cable route, plant shelf or skimmer opening during construction than to cut one into a finished pond later.
For more help with shape and layout, see our guide to fish pond design.
Choose the right location
Where the pond is built affects both its appearance and how much maintenance it will require.
Look at the proposed location at different times of day rather than deciding from a single view of the garden.
Consider:
- sun and shade;
- nearby deciduous trees and leaf fall;
- surface-water runoff from lawns and paths;
- access for maintenance;
- where pumps, filters and other equipment could be located;
- safe access to electricity if powered equipment will be used;
- visibility from the house and seating areas;
- safety for children, pets and wildlife.
Avoid placing the pond where rainwater carrying soil, fertiliser or other contaminants can routinely wash into it.
A pond directly beneath large deciduous trees can also receive a considerable amount of organic material every autumn.
Leave enough space to reach pumps, filters, pipework and pond edges. Equipment hidden perfectly behind permanent masonry but impossible to service will eventually become a problem.
How big should a fish pond be?
There is no single correct size for every fish pond.
Available space matters, but so do the adult size and number of fish you intend to keep. A pond that looks large around a few juvenile fish can become heavily stocked when those fish mature.
Larger water volumes also tend to provide more buffering against rapid changes in temperature and water quality than very small volumes.
Rather than asking how many fish can physically fit into the pond, design the pond around the long-term needs of the animals and the filtration system.
How deep should a fish pond be?
Depth depends on the fish species, climate, pond design and whether fish must remain outdoors through winter.
A shallow decorative pond can behave very differently from a deeper koi or year-round fish pond. Deeper water also influences temperature stability and the usable volume available to fish.
Research the needs of the fish you intend to keep before choosing the final depth rather than building the pond first and selecting fish afterwards.
Choose how the pond will be constructed
Garden fish ponds can be built in several ways.
Flexible pond liner
Flexible liners allow considerable freedom in pond shape and size. The excavation must be prepared carefully and the liner protected from sharp material underneath.
Preformed pond shell
A rigid shell provides a predetermined shape and shelves. The excavation needs to support the shell evenly and hold it level.
Concrete or masonry pond
Structural construction provides considerable design freedom but involves more building work and requires a waterproof pond-safe finish.
Our separate guide compares types of fish pond liners in more detail.
What materials and equipment will you need?
The exact list depends on the construction method, but planning everything before excavation reduces delays.
A typical project may require:
- stakes, rope or a garden hose for marking the outline;
- digging tools or excavation machinery;
- a spirit level or laser level;
- pond underlay;
- a flexible liner or preformed shell;
- stones, paving or another edge finish;
- pond-safe pipe and fittings;
- a pump where circulation is required;
- a suitable filter where fish stocking requires filtration;
- electrical provision for powered equipment;
- aquatic plants;
- water treatment where the source water requires it.
How to build a fish pond step by step
Once the design and materials are ready, construction can begin.
- Mark out the pond. Transfer the proposed shape from the plan onto the ground and check that it looks right in the actual garden.
- Check levels and services. Identify underground utilities before excavation and establish the finished water level around the pond perimeter.
- Excavate the pond. Dig the main basin together with any planned shelves or deeper zones.
- Prepare the bottom and sides. Remove sharp stones, roots and anything else that could damage the liner or prevent a rigid shell from being supported correctly.
- Install underlay where required. Protect flexible liners with a suitable pond underlay or another material approved for the liner system.
- Install the liner or shell. Position it carefully and make sure the finished perimeter remains level.
- Install pipework and built-in equipment. Fit skimmers, bottom fittings, returns and other penetrations according to the pond design before access becomes difficult.
- Finish the pond edge. Secure and conceal the liner while preventing surrounding soil and runoff from washing into the water.
- Install pumps and filtration. Size and arrange equipment according to the pond volume, fish load and hydraulic requirements of the actual system.
- Add any waterfall or water feature. Test the return path so that pumped water reliably returns to the pond instead of leaking into surrounding soil.
- Fill the pond and check everything. Watch the water level, liner position, pipe joints and equipment while the pond fills.
- Start the equipment. Confirm that water circulates correctly and that the pond remains at the intended level.
- Add plants. Place each plant at the depth and location suitable for that species.
- Allow the biological system to mature. Do not treat a newly filled pond and filter as an instantly mature environment.
- Add fish gradually. Stock only after the pond is ready and continue monitoring water quality as biological load increases.
Step 1: Mark out the pond
Use rope, a garden hose, stakes or another visible marker to transfer the pond shape onto the ground.
Walk around it and view it from the house, paths and seating areas. Many shapes that look good on paper appear very different at full scale.
This is the last easy opportunity to change the position or outline.
For rectangular or geometric ponds, measure diagonals and corners carefully. For informal ponds, avoid unnecessary small curves that make liner installation and edging more difficult without adding much visually.
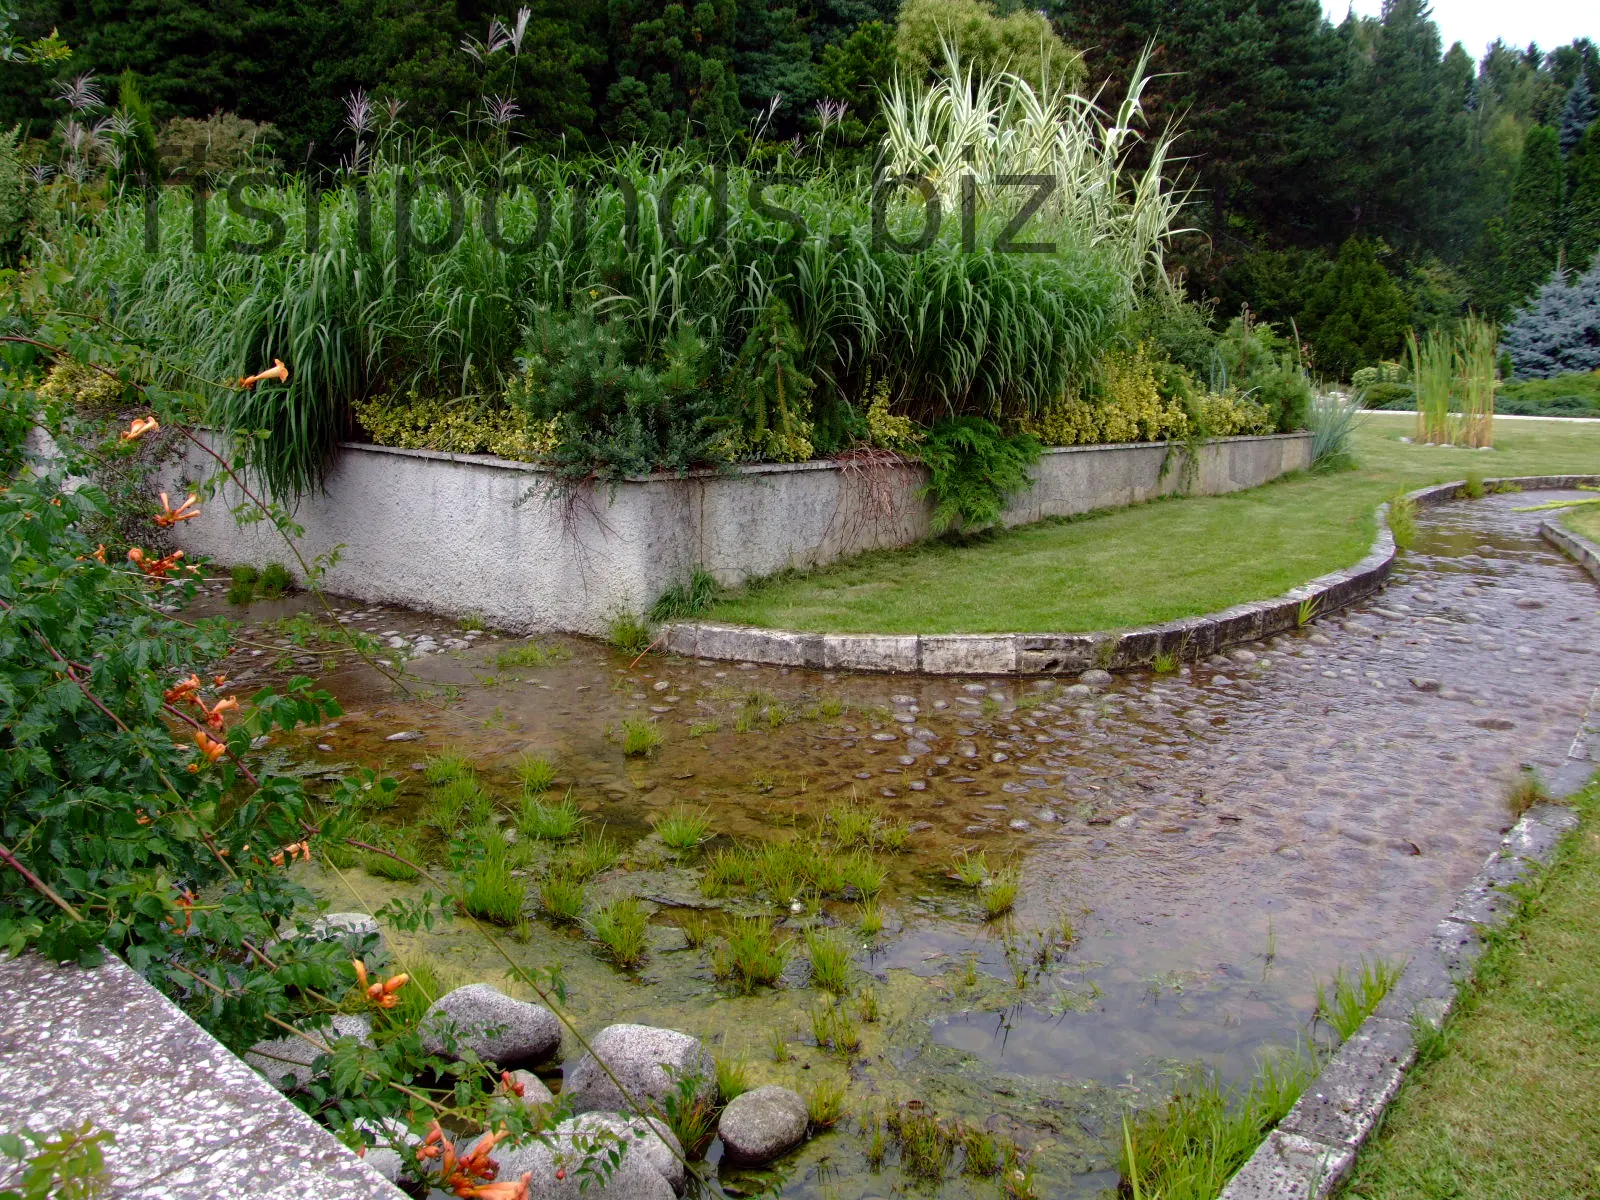
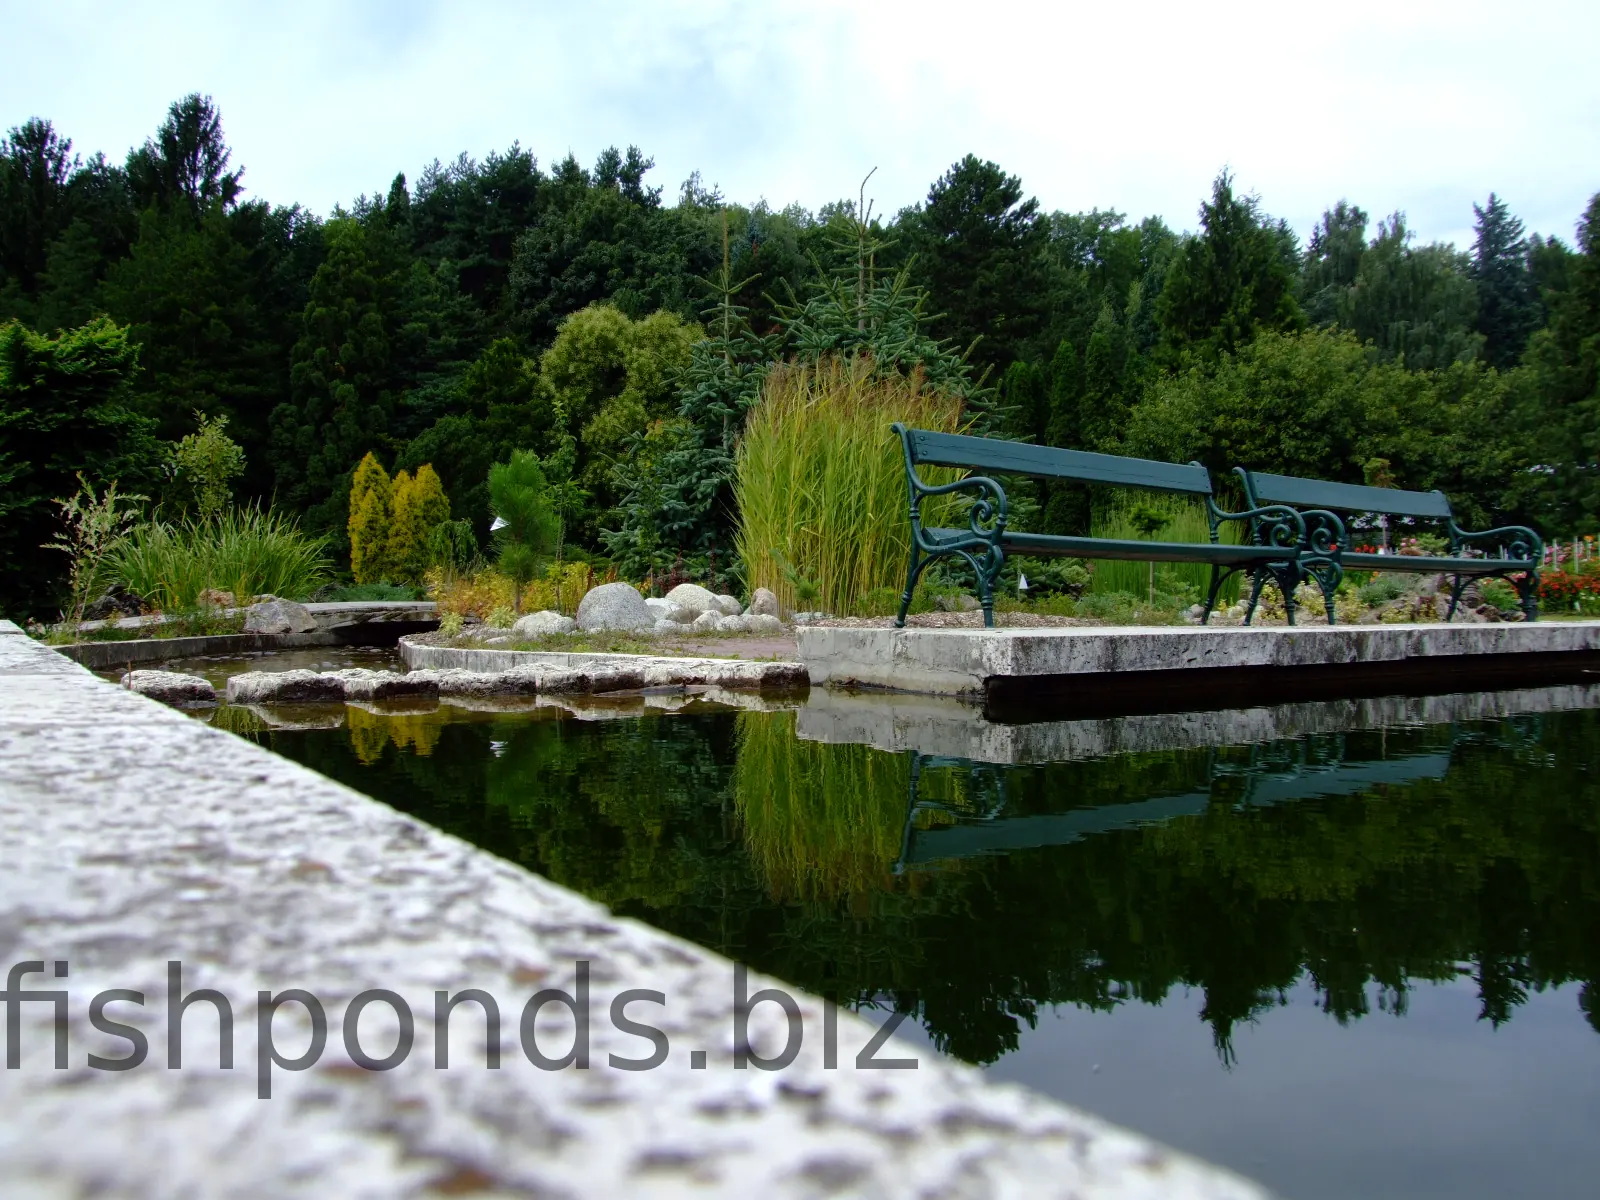
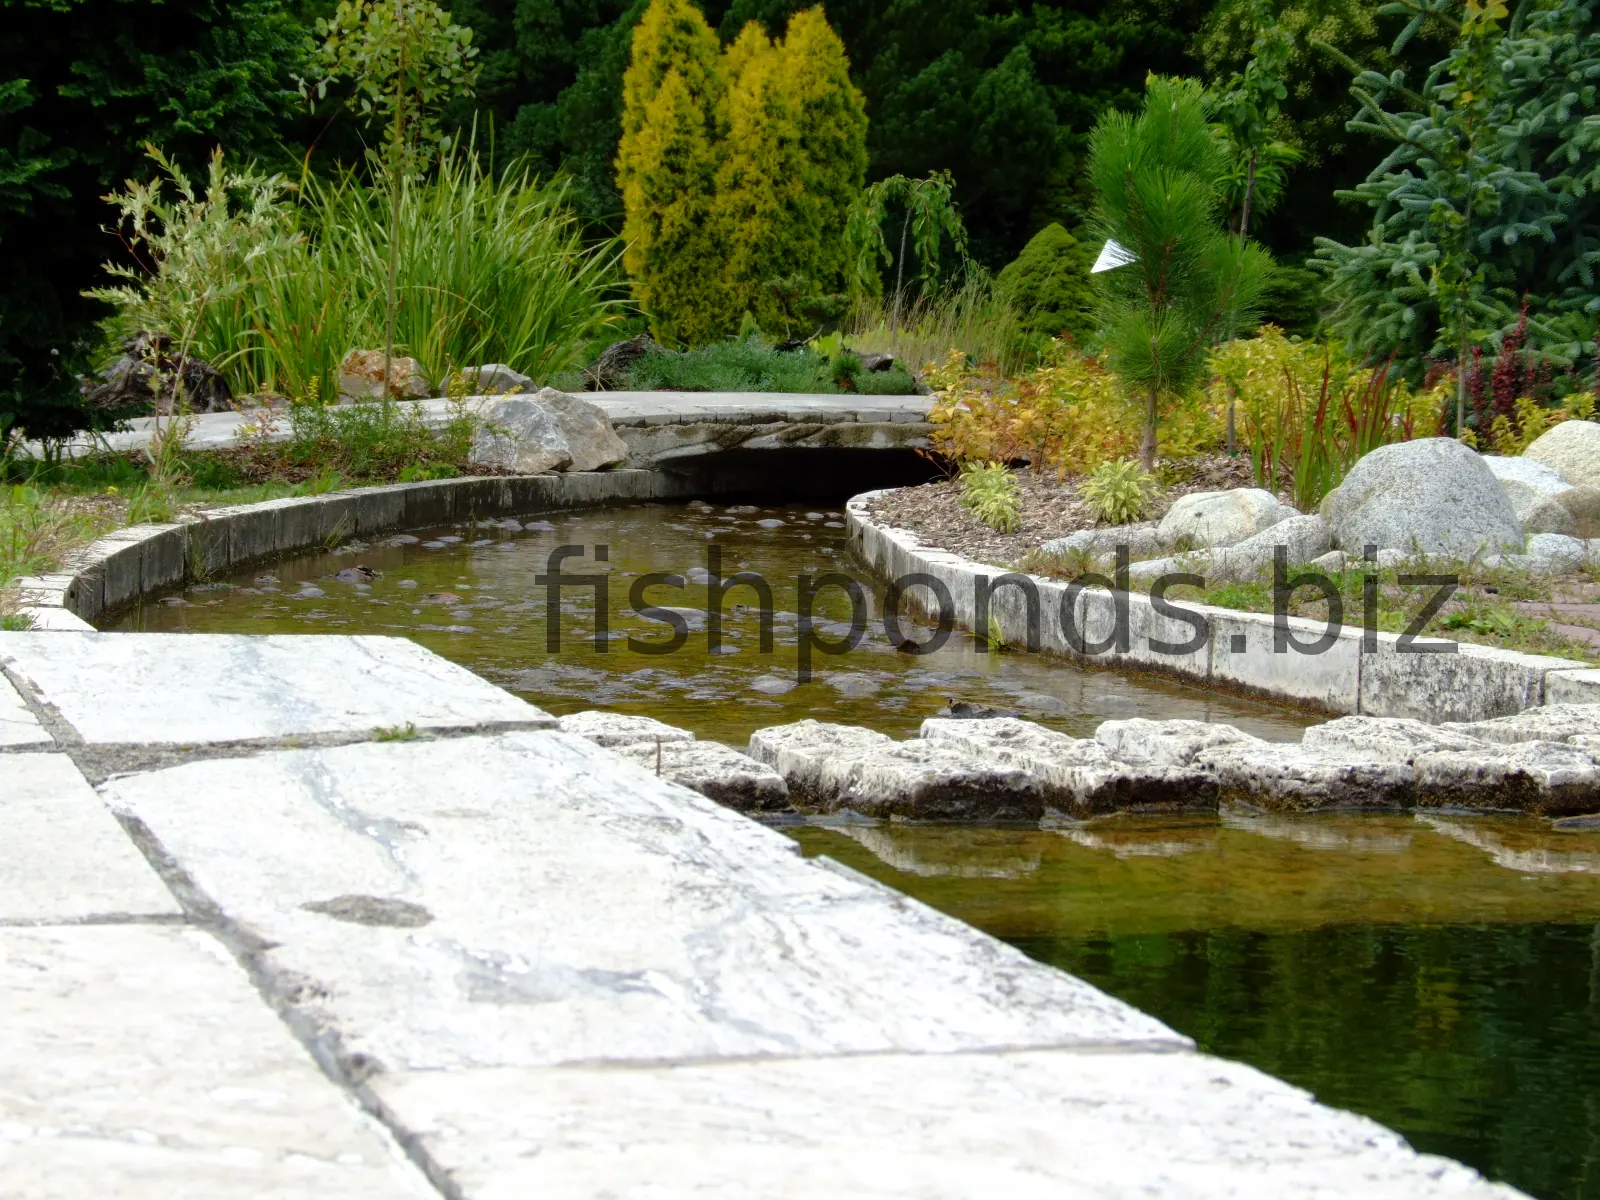
Step 2: Excavate the pond
Excavation should follow the design rather than simply continuing until the hole looks deep enough.
Dig any planting shelves, shallow zones and deeper areas while repeatedly checking measurements and levels.
Keep some excavated soil if it can be reused for landscaping or building up a waterfall area, but avoid creating unstable piles immediately beside the excavation.
Remember that the final water level will expose errors in the pond perimeter. If one edge is lower than the others, water will reveal it immediately.
Step 3: Prepare the pond base
Before installing a flexible liner, inspect the complete excavation for stones, roots and other sharp objects.
The purpose of the underlay is to separate and protect the waterproof liner from the ground beneath it.
Use material intended or approved for pond-liner protection rather than assuming that any discarded household material is suitable.
Step 4: Install the pond liner
Allow a flexible liner to settle naturally into the excavation rather than pulling it tightly across corners and shelves.
Temporary folds are normal in irregular ponds. Arrange them as neatly as practical while leaving enough liner around the perimeter for secure edging.
Adding water gradually can help the liner settle into the shape of the pond. Continue checking its position as the water weight increases.
Leave generous material around the pond edge until the pond has been filled, the liner has settled and the final edge construction is clear. Material can always be trimmed later; it cannot easily be added back.
Installing a preformed pond
A preformed shell needs even support beneath its bottom, shelves and sides.
Place the shell in the excavation and check its level repeatedly. Fill and support it progressively according to the manufacturer's installation method so that the shell is not distorted or left carrying its water weight on a few unsupported points.
Step 5: Finish the pond edge
The pond edge has several jobs.
It hides and secures the liner, provides a visual transition into the garden and helps prevent surrounding soil or surface runoff from entering the pond.
Possible finishes include stone, paving, gravel, planting or combinations of these.
Design the edge so that it is stable and accessible for future maintenance. Where wildlife may enter the pond, also consider how animals can climb back out.
Step 6: Plan pipework and electricity safely
If the pond will use powered pumps, filters, UV equipment, lighting or other electrical devices, plan the permanent electrical supply before the surrounding landscape is finished.
Do not treat a temporary extension cable across a garden as a permanent pond installation.
Outdoor electrical work must comply with the electrical regulations that apply where you live. Use equipment and protection suitable for wet outdoor environments, including RCD/GFCI protection or the local equivalent, and use a qualified electrician where required or whenever you are unsure.
Likewise, plan pipe routes so that connections remain accessible. A hidden union fitting is only attractive until it eventually needs servicing.
Step 7: Install the pump and filter
Not every garden pond uses the same filtration system.
A fish pond carrying a significant biological load normally needs filtration designed for the actual pond volume, stocking level and feeding regime.
Mechanical filtration removes suspended solids while biological filtration provides surfaces for the microorganisms that process fish waste.
Pump selection also needs to consider more than the nominal pond volume. Pipe length, pipe diameter, vertical lift, restrictions and equipment all affect the actual flow delivered by the system.
Avoid burying filters or pumps somewhere that makes routine maintenance difficult.
For more detail see our guide to fish pond filters.
Step 8: Add a waterfall if you want one
A waterfall is optional, but it can provide water movement, visual interest and additional gas exchange.
The critical construction detail is making sure that every part of the watercourse returns water to the pond.
Water that disappears behind rocks or through unlined soil can create a surprisingly large apparent pond leak.
Test the waterfall before final landscaping hides the liner, pipework and adjustable parts.
See our complete guide to building a fish pond waterfall.
Step 9: Fill the pond
Fill a flexible-lined pond gradually while checking that the liner remains correctly positioned and the edge stays level.
If the source water contains chlorine, chloramine or another substance that needs treatment before it is suitable for fish or biological filtration, treat it appropriately.
Record how much water the pond actually contains if possible. Real water volume is valuable later when sizing equipment or dosing any pond treatment.
Step 10: Test the complete system
Before adding fish, run the pond as a complete system.
Check:
- the water level;
- liner edges and waterfalls for losses;
- all pipe connections;
- pump operation;
- filter flow;
- skimmers and returns;
- any fountain or aeration system;
- access to equipment for future cleaning.
It is much easier to correct a leaking fitting or poorly positioned return before fish are present.
Step 11: Add pond plants
Aquatic plants can be incorporated once the basic pond and equipment are working correctly.
Different plants require different depths and growing conditions. Marginal plants may sit on shelves while water lilies and submerged species may require different positions.
Avoid filling every available area immediately. Many pond plants grow rapidly once established.
See our guide to fish pond plants.
Step 12: Cycle the biological filter
A new pond is not biologically mature simply because the water is clear.
Fish produce ammonia, and a biological filter needs an established population of microorganisms capable of processing the resulting nitrogen compounds.
This maturation process should be considered before normal fish stocking rather than adding a full population and expecting a new filter to cope immediately.
See our step-by-step guide to cycling a new fish pond.
Water can look perfectly clean while the biological filtration is still immature. Use water-quality testing rather than appearance alone to judge the developing system.
Step 13: Add fish gradually
Once the pond and biological filtration are ready, fish can be introduced gradually rather than adding the complete planned population at once.
Every additional fish increases oxygen demand and waste production, so water quality should be monitored as the population grows.
Also remember that juvenile fish grow. Stock the pond according to the expected adult fish rather than only their size on the day of purchase.
See our guide to stocking a fish pond.
How to introduce new fish to the pond
Transport water can differ from pond water in temperature and chemistry, so avoid simply tipping newly purchased fish and transport water directly into the pond.
Use a suitable acclimation method for the fish, transport conditions and water chemistry, minimise handling and avoid unnecessary transfer of shop or transport water into the pond.
New fish can also introduce disease and parasites, so quarantine is worth considering particularly for valuable or established collections.
Is building a koi pond different?
The basic construction principles are the same, but a pond intended for koi usually needs to be designed around large, active fish with a substantial feeding and waste load.
That affects decisions such as:
- water volume and depth;
- filtration capacity;
- circulation;
- aeration;
- maintenance access;
- the amount of unobstructed swimming space.
A decorative pond that happens to contain a few small koi should not automatically be assumed suitable for those fish once they become large.
Can you build a fish pond yourself?
Many flexible-liner and preformed garden ponds are realistic DIY projects for people comfortable with excavation, levelling and basic landscape construction.
The project becomes more demanding as the pond becomes larger, deeper or more structurally complex.
Concrete construction, retaining walls, substantial raised ponds, complex plumbing and permanent electrical work may require specialist design or professional installation.
DIY should describe who performs the work, not whether structural and safety requirements can be ignored.
Common fish pond building mistakes
- Starting to dig before planning the complete pond. Decide where filtration, pipes, plants and electrical equipment will go before excavation.
- Building the pond too small for the intended fish. Design for adult fish size and future biological load.
- Choosing depth without considering climate and fish species. The correct depth depends on what the pond is expected to support.
- Allowing garden runoff to enter the pond. Soil, fertilisers and other contaminants should not routinely wash into the water.
- Ignoring the pond perimeter level. An uneven edge becomes very obvious once the pond is filled.
- Installing a flexible liner over sharp ground. Prepare the excavation and protect the liner with suitable underlay.
- Trimming the liner before it has settled. Keep excess material until filling and edging are complete.
- Hiding equipment where it cannot be serviced. Pumps and filters will eventually require inspection and cleaning.
- Using temporary electrical arrangements permanently. Pond electricity requires equipment and installation suitable for an outdoor wet environment.
- Building a waterfall that leaks into the surrounding soil. Test the complete watercourse before covering it with final landscaping.
- Assuming clear new water means a mature pond. Biological filtration needs time to establish.
- Adding the full fish population immediately. Increase biological load gradually and monitor water quality.
What should you do during the first weeks?
A newly built pond continues changing after construction is technically finished.
Monitor:
- water level for unexpected losses;
- pump and filter flow;
- ammonia and nitrite where fish are present;
- plant establishment;
- fish behaviour after stocking;
- areas where debris begins to accumulate;
- the performance of waterfalls, skimmers and returns.
Temporary algae growth in a new pond does not automatically mean that the construction has failed. Avoid repeatedly changing several things at once without first identifying the actual problem.
Building the pond is only the beginning
The easiest pond to maintain is usually one whose maintenance requirements were considered during construction.
Leave access to equipment, prevent unnecessary debris and runoff entering the pond, stock fish conservatively and make sure the filtration system is suitable for the biological load.
Once established, our guide to fish pond maintenance covers the long-term care of the finished pond.
Fish pond building FAQs
How do you build a fish pond?
Plan the pond, choose its location and construction method, excavate the shape, prepare the base, install the liner or shell, finish the edges, install required equipment, fill and test the pond, add plants and mature the biological filtration before normal fish stocking.
Can I build a fish pond myself?
Many garden liner ponds and preformed ponds can be DIY projects. Larger, deeper or structurally complex ponds may require professional help with construction, plumbing or electrical work.
What do I need to build a fish pond?
Requirements depend on the design but commonly include excavation tools, a liner or shell, underlay, edging materials, pipework, suitable filtration and pumping equipment where needed, aquatic plants and safe electrical provision for powered equipment.
How deep should a fish pond be?
Pond depth should be chosen according to fish species, adult fish size, climate, winter conditions and the overall pond design rather than using one universal depth for every pond.
What is the easiest type of fish pond to build?
Preformed shells provide a fixed shape, while flexible liners make custom shapes easier. Which is simpler depends on the size, shape and site of the pond.
Do I need a filter in a fish pond?
Filtration requirements depend on stocking and biological load. A pond carrying significant numbers of ornamental fish usually benefits from mechanical and biological filtration sized for the actual system.
Can I put fish into a new pond immediately?
A newly filled pond and filter are not biologically mature. Prepare and mature the system first, then introduce fish gradually while monitoring water quality.
How long does it take to build a fish pond?
Construction time varies greatly with pond size, soil, access, excavation method, liner type, plumbing, landscaping and whether features such as waterfalls or masonry are included.
Should a fish pond be in sun or shade?
Most ponds benefit from a location that avoids extreme conditions. Consider summer heating, the needs of aquatic plants, nearby trees and the amount of direct sunlight the site receives through the day.
What is the difference between building a koi pond and a normal fish pond?
Koi become large and create a substantial biological load, so ponds intended for them generally need to place greater emphasis on water volume, depth, filtration, circulation, aeration and maintenance access.
Reader question
Pleases, could you kindly and favourably help me by sending me a step to step guidline on how to put fish in my new constructed tapoline pond? I will be hapy as you wil be adding value to my life. I promise to uplift other peoples life with the value you will add to my life. Thanks!
Thank you!
Hi Brother Chinedu,
The most important thing is not to rush stocking a newly constructed pond. Before adding fish, make sure that the water is suitable for them, that any chlorine or chloramine in the source water has been treated where necessary, and that the pond equipment is operating correctly.
If the pond uses biological filtration, allow the filter to mature before normal stocking rather than assuming that adding a bacterial product makes a new filter immediately ready for a full fish population. Test the water during this process, particularly for ammonia and nitrite.
When the pond is ready, introduce fish conservatively rather than adding the complete planned population at once. Acclimate newly purchased fish gradually to the temperature and water conditions of the pond, following the supplier's recommended acclimation procedure, and avoid unnecessarily adding transport water to the pond.
After introducing the first fish, continue to monitor ammonia, nitrite and fish behaviour. Add further fish only when the pond and biological filter are coping with the existing population. It is better to let water-quality results determine the pace of stocking than to follow a fixed schedule such as adding new fish every week or two.
Quarantining new fish before introducing them to the pond is also worth considering, particularly with koi or when adding fish to an established collection, as apparently healthy new fish can introduce disease.
You can find the full process in our guides to cycling a new fish pond and stocking a fish pond.